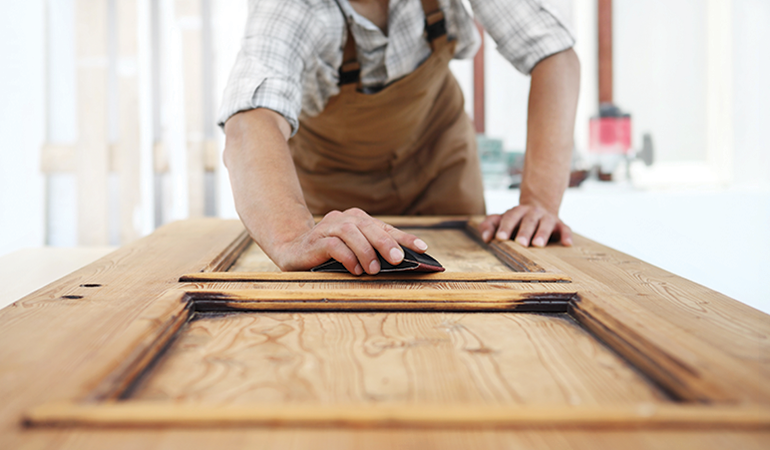
Proper surface preparation is the most important step of any stain or finish project. Follow these easy steps to attain a professional-looking finish every time.
Suggested Supplies
- Sand paper - medium grade (100 to 120 grit)
- Sand paper - fine grade (160 to 220 grit)
- Sanding block
- Vacuum
- Lint-free cloth
- Tack rag
Identifying your surface is the first step to beginning any staining and finishing project. Here are four basic surface types this we will cover:
- New, bare wood
- Previously finished surfaces in good condition
- Old paint or finishes in poor condition
- Non-porous surfaces, such as fiberglass, metal, or composition
Previously finished surfaces in good condition: A finish in good condition can be covered with stain and/or a clear finish. Before application, ensure the surface has been properly scuff sanded and cleaned. Read on for staining instructions for previously finished surfaces and for clear finish application.
Note: Some polyurethanes will not adhere to shellac or lacquer surfaces. We recommend you remove these finishes. To determine the finish type, apply nail polish remover to an inconspicuous area. The remover will soften shellac or lacquer.
Old paint or finishes in poor condition: Select a good quality paint stripper to remove paint or previous finish to reveal bare wood.
Surface Repair: Fill and repair any surface imperfections with an appropriate patching material.
For wood surfaces, follow these sanding steps:
- Begin sanding with a medium grade paper. Sand with the grain, in long strokes. Avoid sanding against the grain as this will cause sanding blemishes. Clear sanding dust between steps.
- Sand the surface a second time with fine-grit sandpaper for an even, smoother finish.
- Clean the surface with a tack cloth or a cloth dampened with mineral spirits to pick up all the sanding dust. A vacuum is useful for large areas. Wipe clean.
WARNING! If you scrape, sand, or remove old paint, you may release lead dust. LEAD IS TOXIC. Contact the National Lead Information Hotline at 1-800-424-LEAD, or log on to www.epa.gov/lead.
Some woods, such as pine, fir, maple, and poplar, absorb stain unevenly, creating a blotchy appearance. Old Masters Wood Conditioner is a clear wood sealer that enables uniform stain application under oil- or water-based stains. Ideal for use on soft woods which are being stained with or adjacent to hardwoods.
Before you proceed, ensure all surfaces are clean, dry, and free from dirt, wax, grease, glue, and other contaminants.
Helpful hints:
- Use aluminum oxide sandpaper.
- Avoid using steel wool; metal particles cling and can detract from the finish.
- Remove hardware or excess glue from the project before sanding.
- A sandpaper block is useful for flat surfaces.


