
The secret to shop-made wiping varnish is a very simple recipe and an easy-to-master application technique that adds up to the best finish you can’t buy.
The range of finishes available to woodworkers offers a variety of positive attributes. Oil finishes are very easy to apply, polyurethane varnish is extremely durable, and the soft sheen of a thin shellac film is hard to beat. However, if you’re looking for a finish that wraps all three of these desirable features into one package, wiping varnish should be your choice.
What is it?
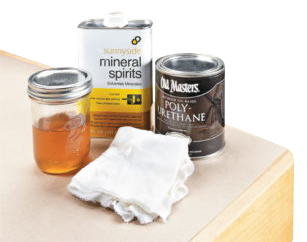
A wiping varnish is nothing more than a varnish that’s been diluted with mineral spirits. The resulting runny mixture can be applied with nothing more than a clean rag. It’s almost as easy to work with as an oil finish and just about as durable as a built-up varnish. Plus, the warm color and soft sheen of the thin film is very appealing. In my mind, a wiping varnish offers the best of all worlds.
Make Your Own
There are a number of brand-name wiping varnishes on the market. These are all good products. But I prefer to use a wiping varnish that you won’t find pre-packaged on the shelf at the hardware store or home center. I mix up my own. No, I don’t have a chemistry lab in my basement. As I mentioned, a wiping varnish is simply varnish and mineral spirits mixed in the desired proportions. So all you need to make wiping varnish are these two ingredients.
Suggested Supplies
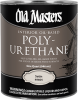
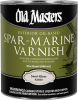
- Oil-Based Polyurethane
- Mineral spirits
Benefits
There are multiple advantages to making and using your own wiping varnish. One factor is cost. Shop-made wiping varnish is cheaper than the packaged types. And since you mix it yourself, you know exactly what’s in it. You can use whatever type of varnish best suits your needs and mix it in the proportions that give the best result. This final point is the clincher for me. As you’ll see, I like to mix my wiping varnish to a custom consistency. This makes the application easier, and you can achieve a better build that will provide more durable protection.
The Process
In a nutshell, the technique for applying a wiping varnish goes like this: You wipe on a full, wet coat, let it sit for a few minutes to tack up slightly, and then wipe off the excess. Since you’re leaving only a light coat on the surface, the varnish levels out very evenly. A thin film will gradually build as each additional coat is applied. The result is a smooth surface and a soft, even sheen. Let me take you through the process I use in a little greater detail.
Which Varnish?
Start with a good quality satin or semi-gloss varnish. You’ll have trouble getting an even sheen with a high-gloss varnish. Polyurethane varnish is now the most common type, but an alkyd varnish or even a spar varnish will also work. Some types will impart a deeper amber color to the wood. If this is what you’re after, choose accordingly.
Sand Well
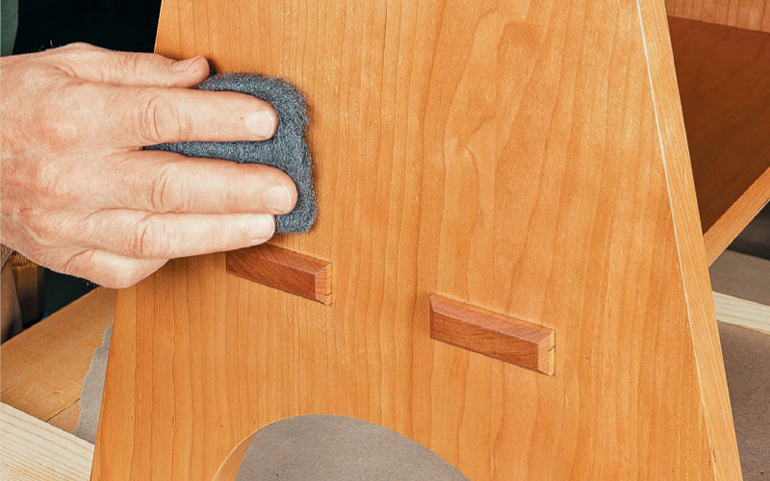
Since the final film will be fairly thin, good surface preparation is a must. I sand to a minimum of 180 grit — 220 is even better. The smoother and more consistent the surface, the better the finish will lay out.
 One-to-One
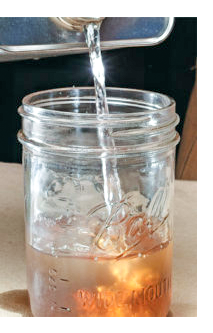
I begin by mixing a batch of wiping varnish in a one-to-one ratio. A graduated canning jar makes it easy to get the proportions right (photo below). You can stir or simply swirl the mixture to blend it. Once everything is ready, dip a balled-up rag into the varnish and begin to wipe on the first coat (main photo, opposite). The bare wood will soak up the finish to a fair degree, so you may need to recoat the surface to keep it wet. This relatively diluted initial coat will give you a fair amount of working time. Wait 5 to 10 minutes for it to tack up before picking up a clean rag and wiping down the surface. At this point, you won’t observe a sheen. Let the varnish dry for 6 to 8 hours — overnight if possible. Then apply a second coat of the same mixture. Since the wood has been sealed, you won’t need nearly as much finish to wet the surface. But don’t be stingy. Starting with the second coat, I’m less “thorough” when wiping off the excess varnish. Instead of using a dry rag, I dampen it just slightly with finish. This way, you’ll still get smooth, even coverage while leaving more finish behind on the surface.
Now, a Thicker Mix
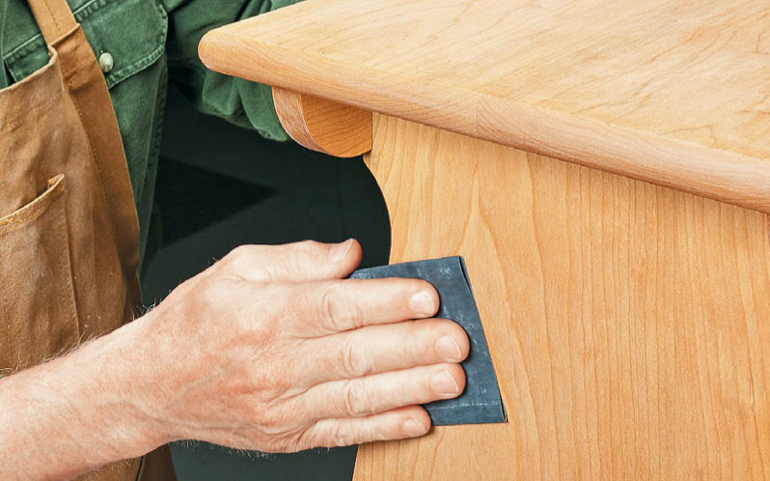
The photos below show the remaining steps. After the second coat has dried, I sand the thin film lightly with 400-grit sandpaper. This removes any dust nibs or raised grain and help maintain a smooth surface.
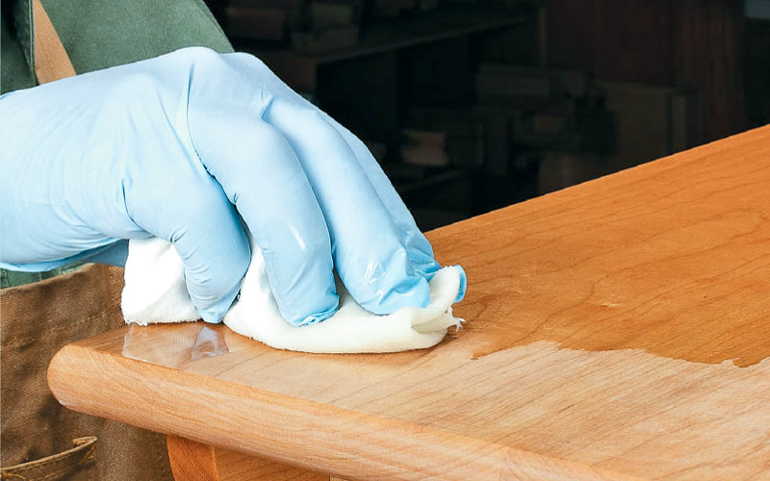
A third coat follows using a considerably thicker mixture — two parts varnish to one part mineral spirits. The goal here is to produce a faster build and a thicker final film. But keep in mind that the thicker mixture will tack up faster and take a bit more effort to wipe down. So be prepared to work a little faster and possibly reduce your work area. And again, you want to use a dampened rag to remove the excess. Wipe with the grain in long strokes, similar to brushing a finish. This will help you achieve an even, streak-free film.
Sand & Recoat
After another drying period, sand the film lightly and apply another coat of the same mixture. When this coat is dry, you can take stock. Four coats should produce a thin but reasonably durable film. This is usually where I stop, but you may want to add another coat or two for good measure. If you notice any streaking or unevenness in the sheen, the film can be rubbed out with #0000 steel wool. The result is a beautiful finish that will complement and protect your project for many years to come.
Once the second coat is thoroughly dry, sand the surface lightly with 400-grit sandpaper to level any raised grain.
For the third coat, I use a thicker mixture. It will tack up faster, so it’s a good idea to apply finish to a more limited area.
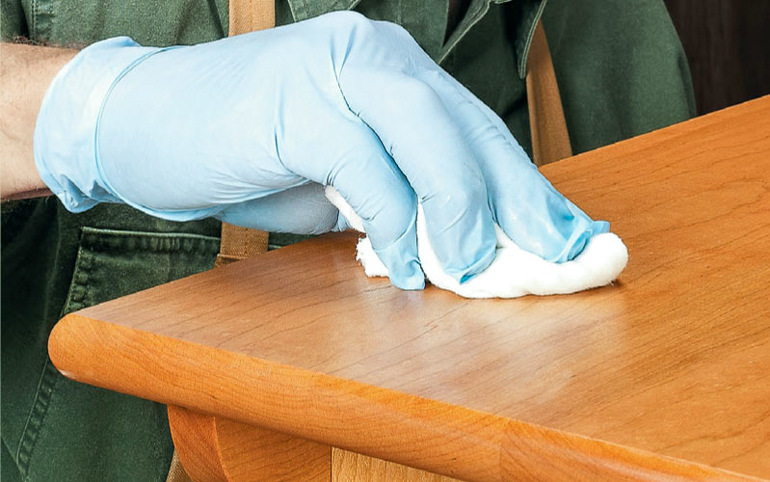
Don’t wait long before starting to wipe down the third coat. The surface should offer just a little bit of resistance.
If you need to even out the sheen or simply dull it down a bit, you can rub out the final coat with #0000 steel wool.