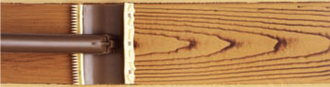
This innovative tool produces the realistic grains and patterns found in real wood. The Old Masters Wood Graining Tool is a simple device that allows the user to rearrange the stain into patterns that resemble wood grain. This tool allows an average do-it-yourselfer to create professional results every time.
Where to Use
The Wood Graining Tool can be used on nearly any smooth, flat surface in which paint can adhere. Various surfaces including metal, plastic, painted objects, or Masonite can be wood grained. You can make almost any object look like wood, including metal file cabinets, kitchen cabinets, tables, bookcases, chests, vanities, wood or steel doors, paneling, dressers, desks, and more.
Easy to Follow Instructions
Old Masters offers extensive instructions on how to woodgrain. To view the Wood Graining Made Easy booklet, click here.
Supplies List for Wood Graining:
Base Paint - Eggsheel or satin sheen coatings work best
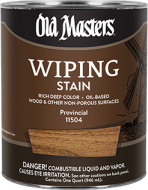
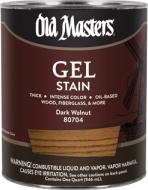
Old Masters Gel Stain or Wiping Stain
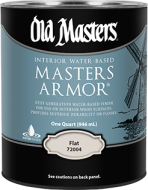
Old Masters Ascend Exterior Water-Based Clear Finish, Masters Armor Interior Water-Based Clear Finish, or Interior Oil-Based Polyurethane Clear Finish
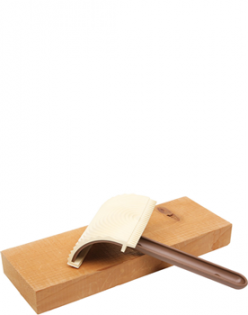
Old Masters Wood Graining Tool
Foam Brush
Tack rags
1½" to 2" natural bristle paint brush
2 sheets of medium grit sandpaper (120-150 grit)
2 sheets of fine grit sandpaper (220-280 grit)
1" masking tape
Paint thinner or mineral spirits
Test material for testing and practice
Wood Graining Made Easy booklet
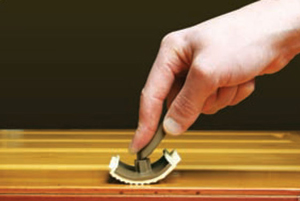 How to use the tool: Hold it by its handle and place your index finger directly on the base of the head (where the handle and curved portion of the tool meet). Press the face of the tool firmly against the surface of your project and slide it along in a straight, smooth motion.
Try it out on your test piece. Spread a thin coat of Gel Stain or Wiping Stain over your test piece with a foam brush. Now try using the Wood Graining Tool. Press firmly and slide the tool along at a gentle speed. Think of the motion similar to how you would drag a squeegee on glass. On your second pass, try sliding and rolling it just a little. Create all kinds of patterns with just one tool. By changing the pivoting point on the tool, you change the pattern.
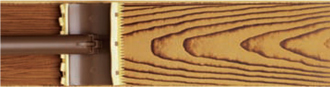
All the basic designs shown below can be created with the Wood Graining Tool.
Pulling the tool from top to bottom:
Pushing the tool from bottom to top:
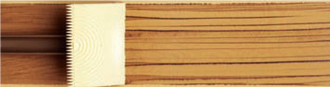
Vein Grain
Vein grain is achieved by using the comb edge of the tool. Vein grain is usually used between and around the major patterns to join and blend the designs into a realistic simulated wood finish:
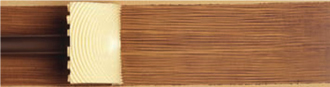
Quarter Sawn Grain
Quarter sawn grain is achieved by using the notched top edge of the tool; basically, flip the tool over. Much like vein grain, quarter sawn grain is a secondary pattern for blending:
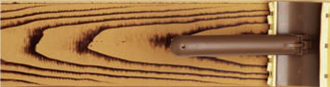
Knots
Create knots using a rocking motion of your wrist as you move the tool. Beginning with the tool on the center of the curved part, rock it to the bottom and then back to the center, and you’ve created a knot. By varying the length of time you spend in the rocking motion while moving, you’ll create short, stubby knots or long, skinny knots.
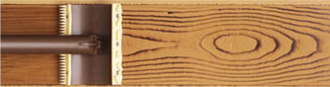
Heart Grain
Use the face of the tool to create heart grain, a common pattern: